Note: • Your Zoom administrator needs to perform Steps 1 and 2 only once for the entire organization. • Each meeting host needs to perform Steps 3 and 4 once.
Step 2: Enable downloading of Zoom recordings (Admin)
1. Sign in to Zoom as the administrator. 2. Under Admin, click Account Management, and then click Account Settings. 3. Click the Recording tab and confirm or restore these settings:
Cloud recording: Enabled
Record an audio only file: Enabled
Prevent hosts from accessing their cloud recordings: Disabled
Cloud recording downloads: Enabled
Only the host can download cloud recordings: Disabled
IP Address Access Control: Disabled
Only authenticated users can view cloud recordings: Disabled
Require password to access shared cloud recordings: Disabled
Step 3: Enable downloading of Zoom recordings (Personal)
1. Sign in to your Zoom account. 2. Click Settings on the left, and then click the Recording tab. 3. Confirm or restore these settings:
Cloud recording: Toggled On
Record an audio only file: Checked
Allow cloud recording sharing: Toggled On
(Recommended) Automatic recording: Toggled On
(Recommended) Record in the cloud: Selected
IP Address Access Control: Toggled Off
Require users to authenticate before viewing cloud recordings: Toggled Off
Set recording as on-demand by default: Toggled Off
Require password to access shared cloud recordings: Toggled Off
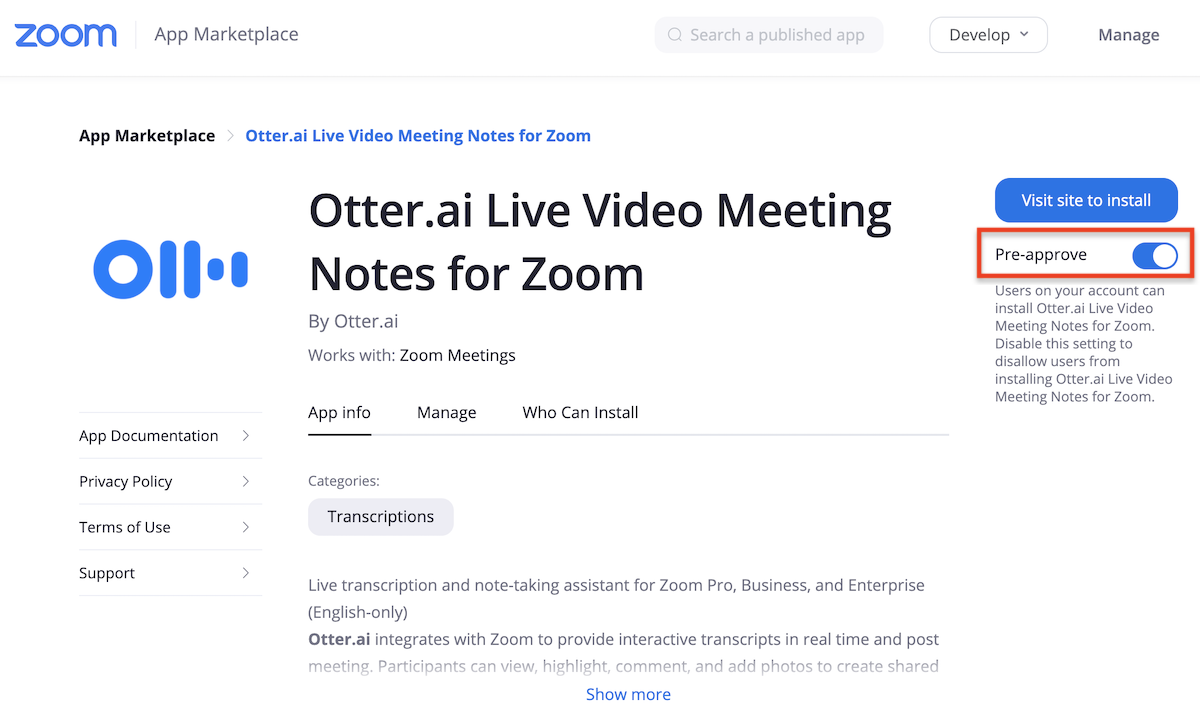
Step 4: Connect Otter to Zoom
1. Log in to Otter.ai, then click Apps in the left panel. 2. Look for Sync cloud recordings and click Add.
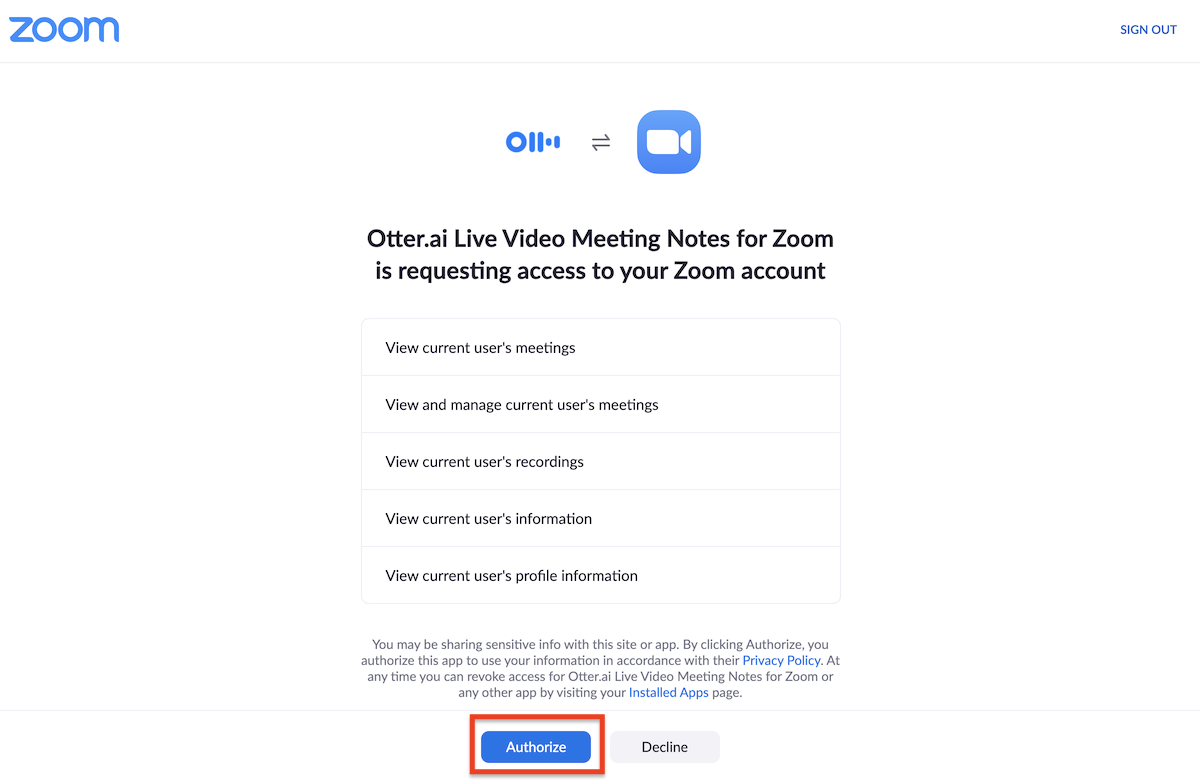
3. If you are not already signed into Zoom, you would be prompted to sign in. 4. Click Authorize to connect Otter.ai to Zoom.
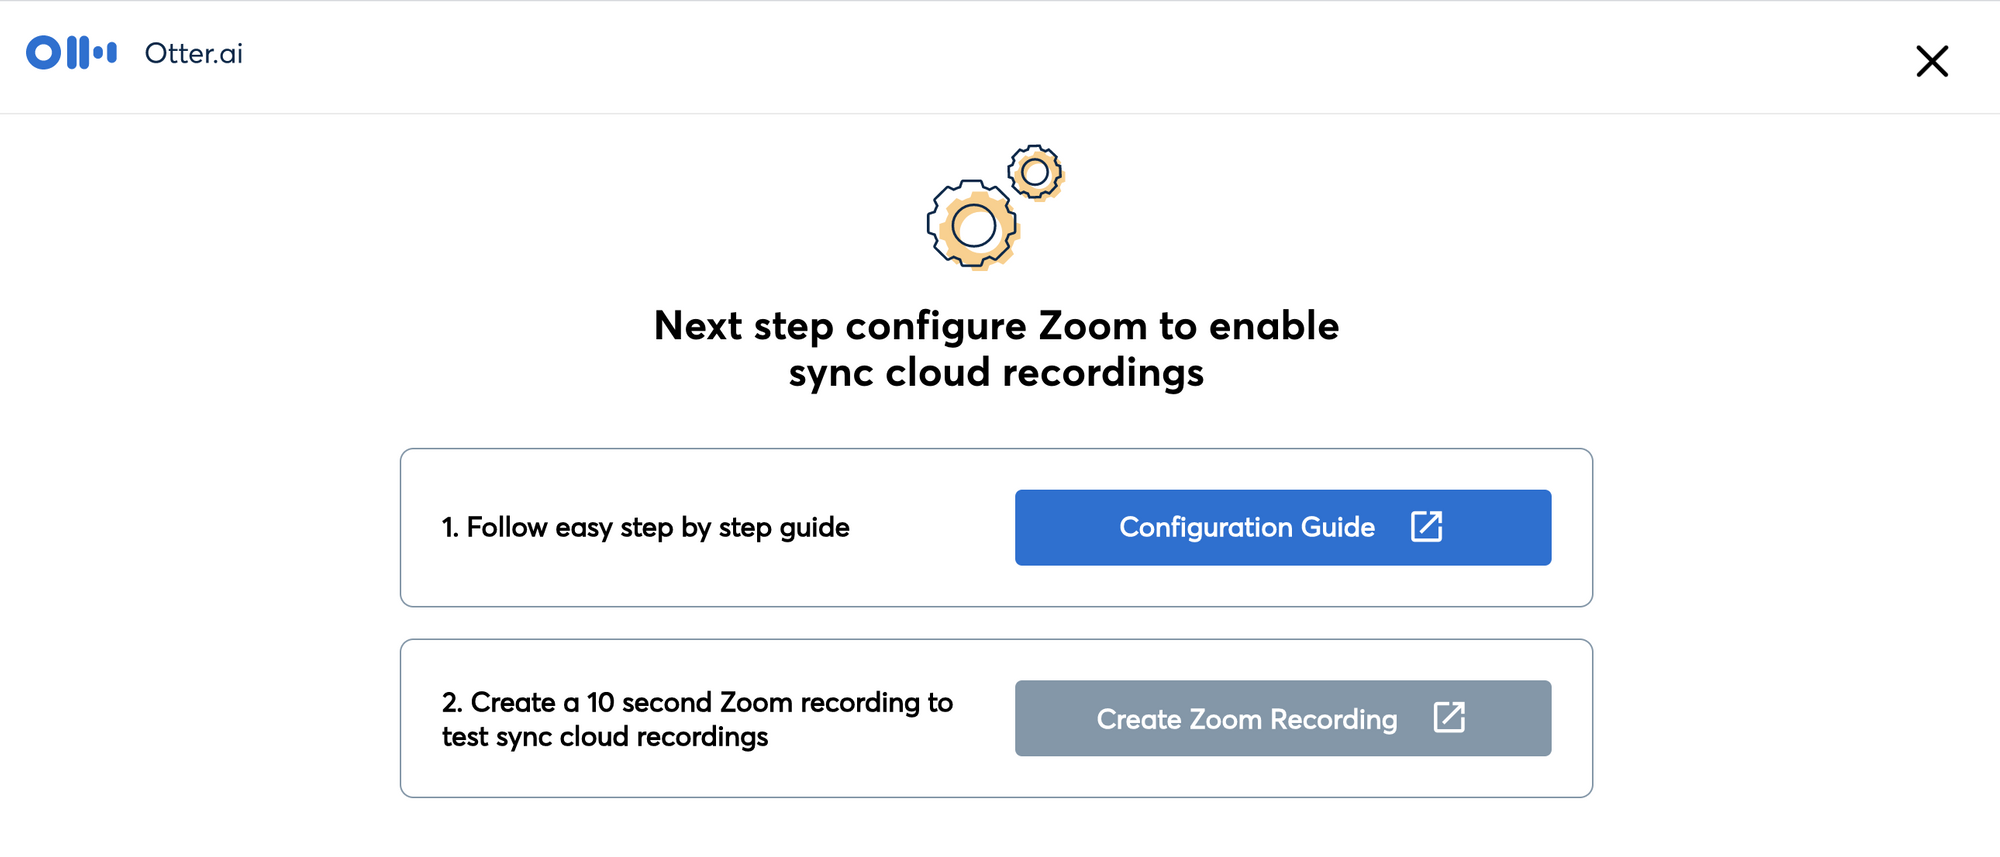
5. Click Configuration Guide to open this article. Complete all configuration steps above if you haven't already.
6. Click Create Zoom Recording to test your integration. Record yourself speaking into the Zoom meeting for about 10 second, and end the meeting.
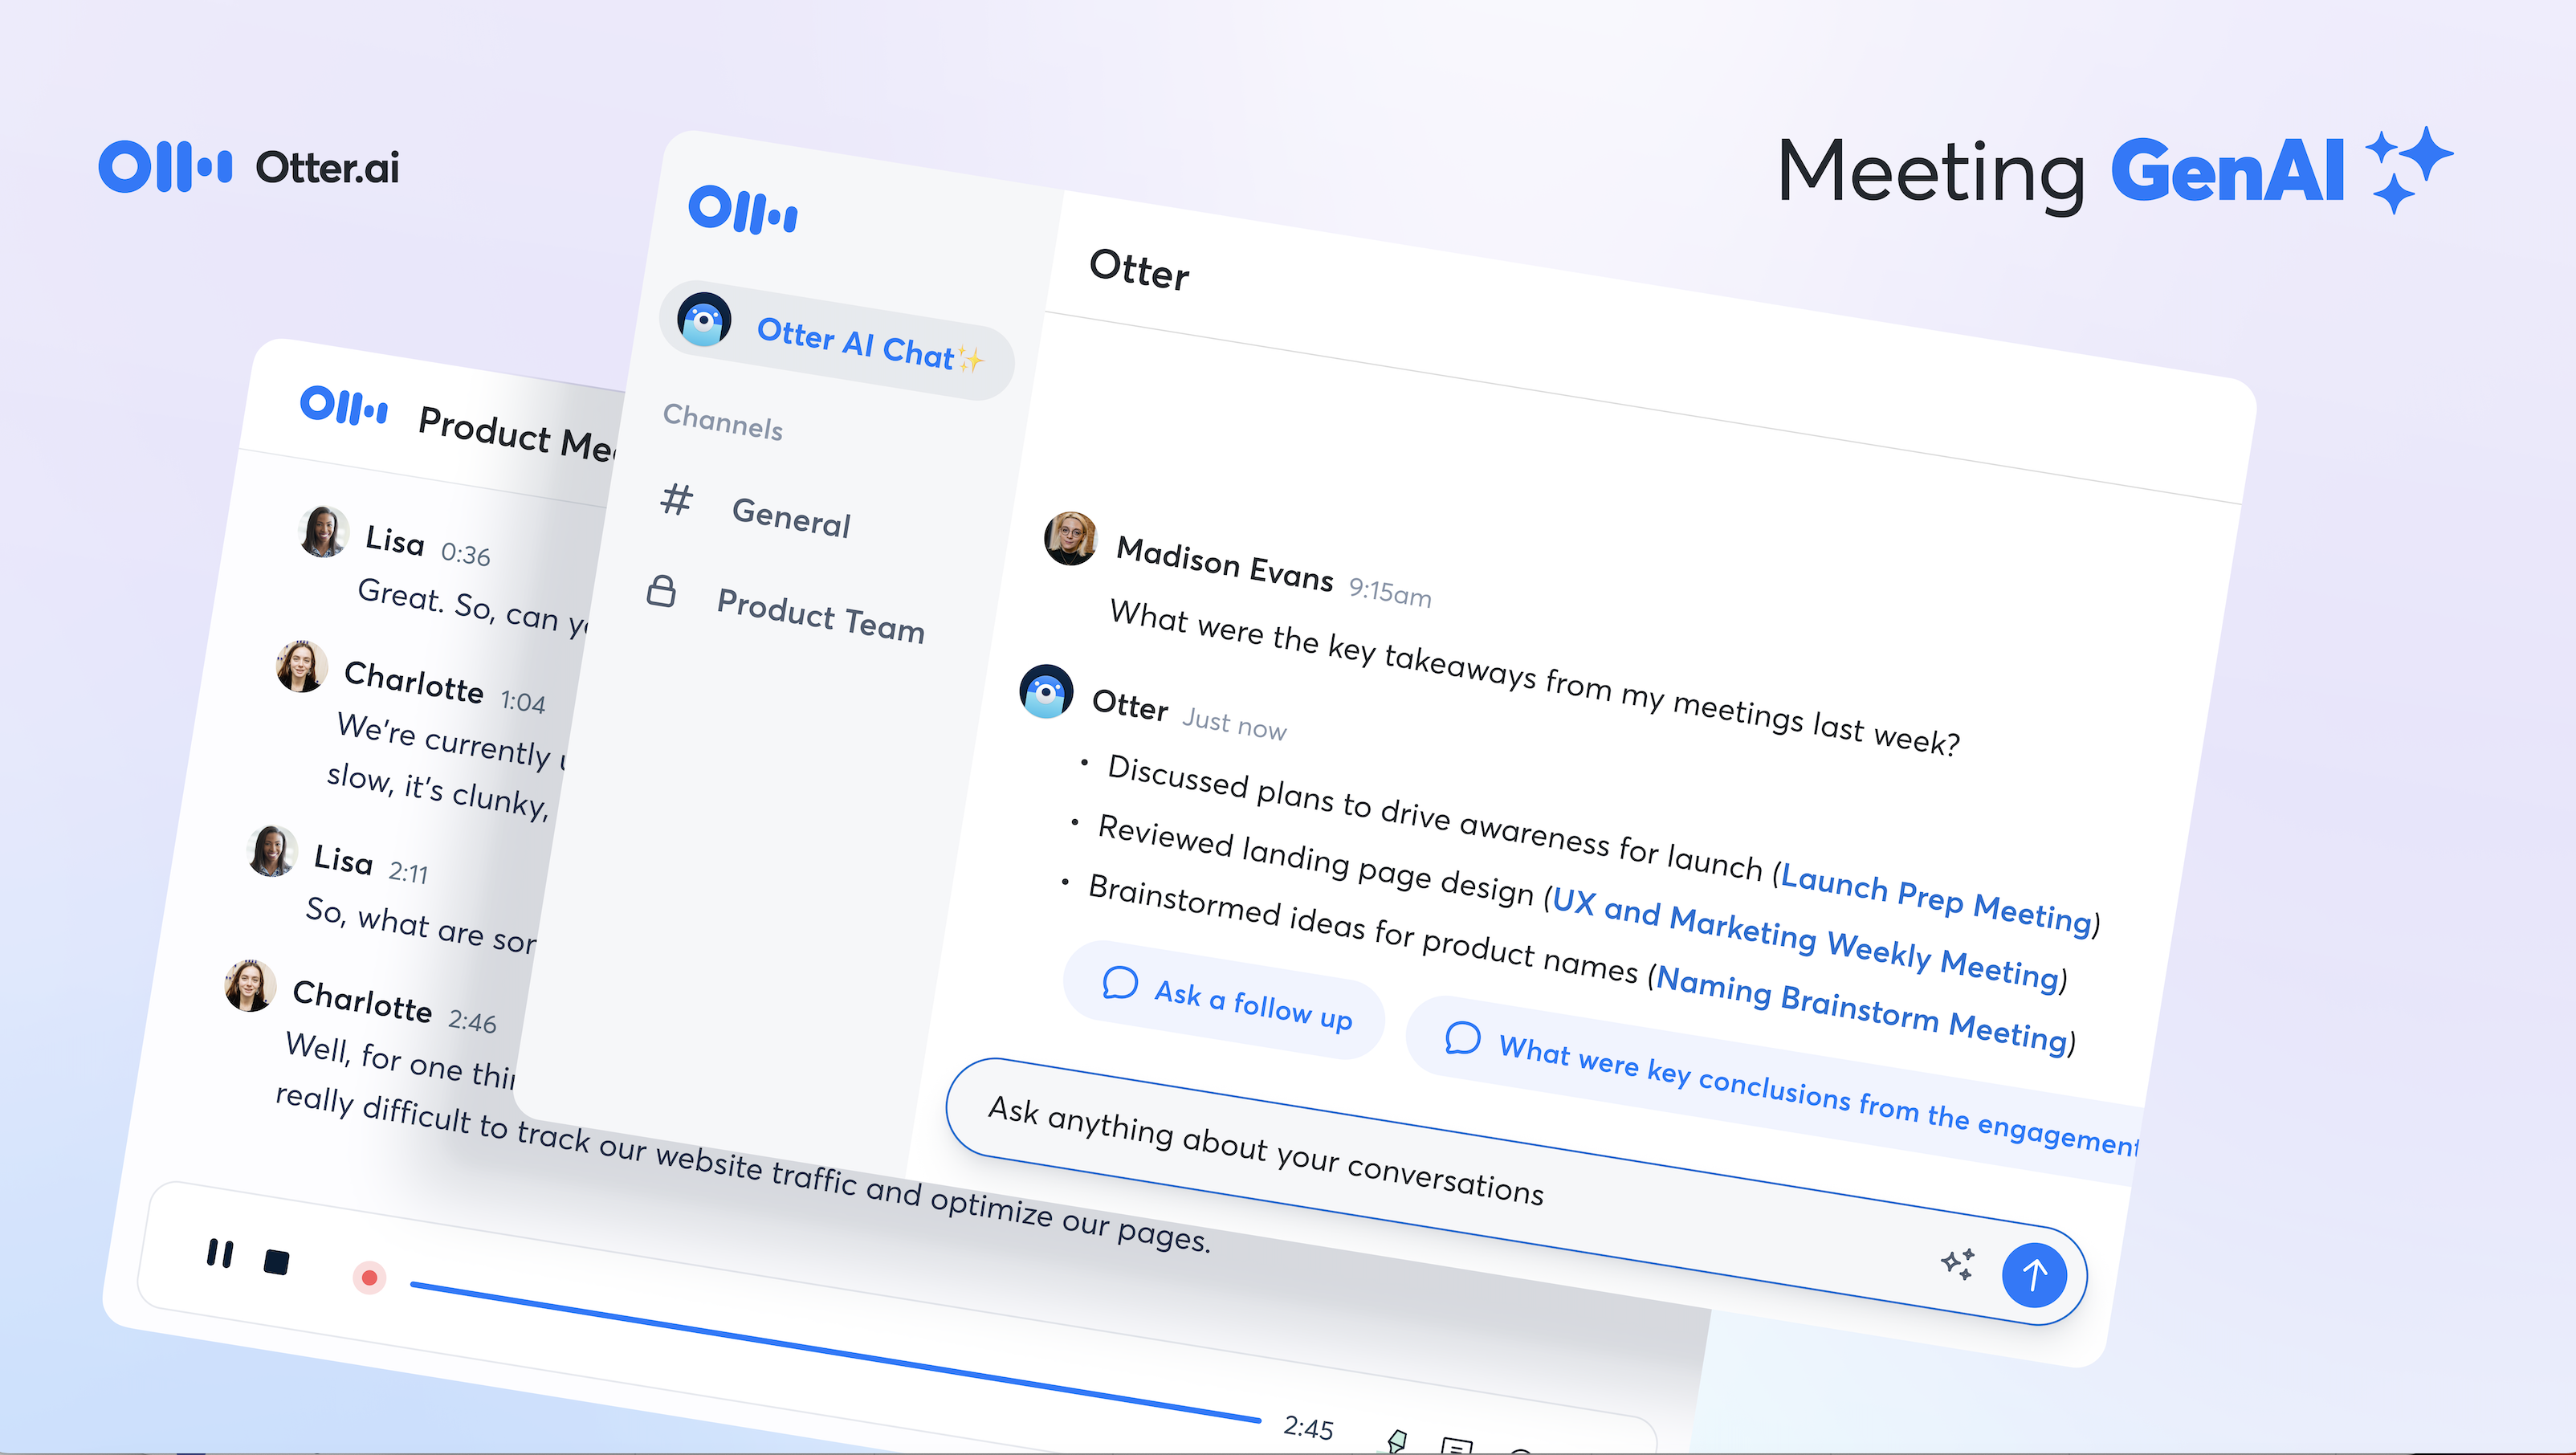
Otter should be able to sync and transcribe new Zoom cloud recordings from this point on. Here is a sample of Otter's interactive audio transcript:
How to download Zoom cloud recordings and import into Otter
You can manually download Zoom cloud recordingsand import them into Otter for transcription as follows: 1. Sign in to the Zoom web portal. 2. In the left menu, click Recordings. 3. In the Topic column, click to open the recording you wish to download. 4. Next to Audio only, click the download icon to download the audio file (.m4a).
5. Sign in to your Otter.ai account. 6. Click the Import audio/video button in the top right. 7. Drag the .m4a audio file or click Browse files, navigate to the file and open it. 8. Otter will notify you when the transcription is completed.
How to import Zoom local recordings into Otter
For Zoom local recordings saved on your computer, you can manually import them into Otter for transcription as follows: 1. Log in to Otter.ai, click Import audio/video, and then click Browse files. 2. Go to the folder where Zoom saves local recordings. By default: • PC: C:\Users\User Name\Documents\Zoom • Mac:/Users/User Name/Documents/Zoom 3. Select one or more file(s) to import: • audio_only.m4a is an audio file, which is smaller and faster to upload • zoom_0.mp4 is a video file, which is larger and slower to upload
Note: • Your Zoom administrator needs to perform Steps 1 and 2 only once for the entire organization. • Each meeting host needs to perform Steps 3 and 4 once.
Step 2: Enable downloading of Zoom recordings (Admin)
1. Sign in to Zoom as the administrator. 2. Under Admin, click Account Management, and then click Account Settings. 3. Click the Recording tab and confirm or restore these settings:
Cloud recording: Enabled
Record an audio only file: Enabled
Prevent hosts from accessing their cloud recordings: Disabled
Cloud recording downloads: Enabled
Only the host can download cloud recordings: Disabled
IP Address Access Control: Disabled
Only authenticated users can view cloud recordings: Disabled
Require password to access shared cloud recordings: Disabled
Step 3: Enable downloading of Zoom recordings (Personal)
1. Sign in to your Zoom account. 2. Click Settings on the left, and then click the Recording tab. 3. Confirm or restore these settings:
Cloud recording: Toggled On
Record an audio only file: Checked
Allow cloud recording sharing: Toggled On
(Recommended) Automatic recording: Toggled On
(Recommended) Record in the cloud: Selected
IP Address Access Control: Toggled Off
Require users to authenticate before viewing cloud recordings: Toggled Off
Set recording as on-demand by default: Toggled Off
Require password to access shared cloud recordings: Toggled Off
Step 4: Connect Otter to Zoom
1. Log in to Otter.ai, then click Apps in the left panel. 2. Look for Sync cloud recordings and click Add.
3. If you are not already signed into Zoom, you would be prompted to sign in. 4. Click Authorize to connect Otter.ai to Zoom.
5. Click Configuration Guide to open this article. Complete all configuration steps above if you haven't already.
6. Click Create Zoom Recording to test your integration. Record yourself speaking into the Zoom meeting for about 10 second, and end the meeting.
Otter should be able to sync and transcribe new Zoom cloud recordings from this point on. Here is a sample of Otter's interactive audio transcript:
How to download Zoom cloud recordings and import into Otter
You can manually download Zoom cloud recordingsand import them into Otter for transcription as follows: 1. Sign in to the Zoom web portal. 2. In the left menu, click Recordings. 3. In the Topic column, click to open the recording you wish to download. 4. Next to Audio only, click the download icon to download the audio file (.m4a).
5. Sign in to your Otter.ai account. 6. Click the Import audio/video button in the top right. 7. Drag the .m4a audio file or click Browse files, navigate to the file and open it. 8. Otter will notify you when the transcription is completed.
How to import Zoom local recordings into Otter
For Zoom local recordings saved on your computer, you can manually import them into Otter for transcription as follows: 1. Log in to Otter.ai, click Import audio/video, and then click Browse files. 2. Go to the folder where Zoom saves local recordings. By default: • PC: C:\Users\User Name\Documents\Zoom • Mac:/Users/User Name/Documents/Zoom 3. Select one or more file(s) to import: • audio_only.m4a is an audio file, which is smaller and faster to upload • zoom_0.mp4 is a video file, which is larger and slower to upload